Implement pagination in .NET Core MVC application with custom HtmlHelpers
In this article, let us try to build custom HtmlHelpers to provide pagination in .Net Core MVC application.
What is HtmlHelper
For those who does not have an idea of Html helpers, here is a brief explanation. HTML helpers makes it easy and fast for developers to create html pages. In most cases, an HTML helper is just a method that returns a string. MVC comes with built in Html helpers like @Html.TextBox(), @Html.CheckBox(), @Html.Label, etc.
Htmlhelpers render html controls in razor view. For example, @Html.TextBox() renders <input type=”textbox”> control, @Html.CheckBox() renders <input type=”checkbox”> control, etc.
In this article, we extend the HtmlHelper class and build a custom HtmlHelper to provide pagination in .NET Core MVC application. Let us see how it can be done.
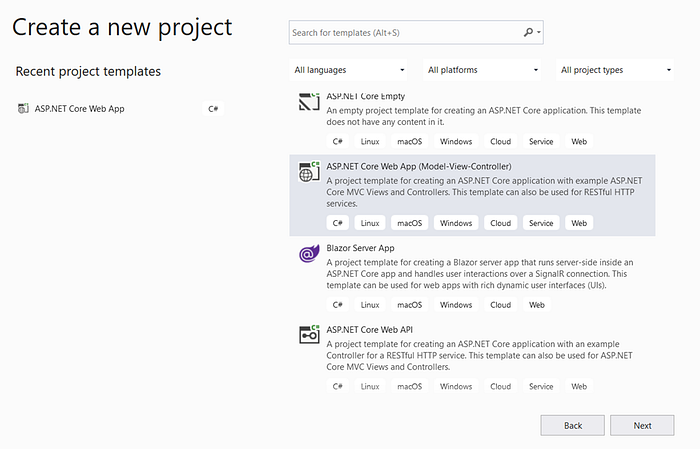
Open Visual Studio 2019 > Create .NET Core MVC Application as shown below.
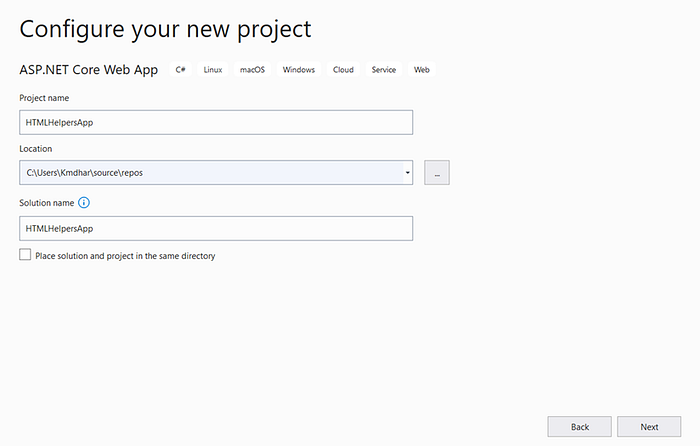
Name your project as HTMLHelpersApp
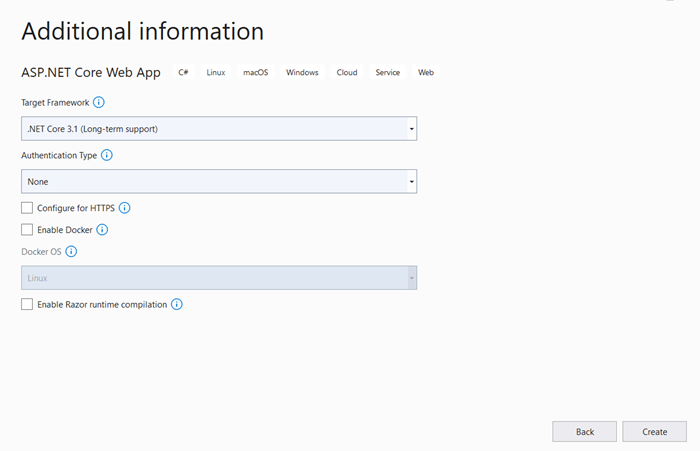
Select .NET Framework Version
First let us create the required models and helper files.
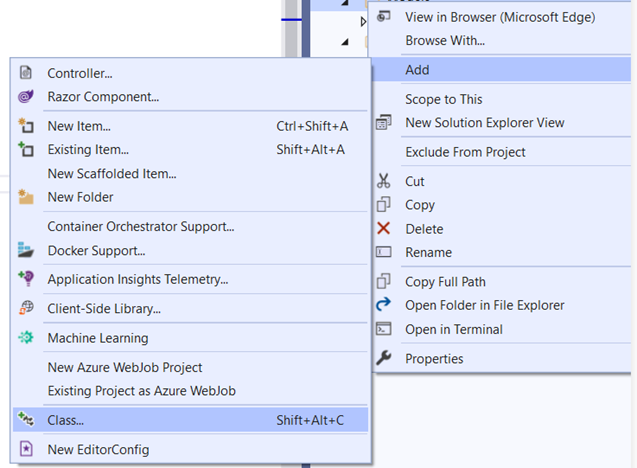
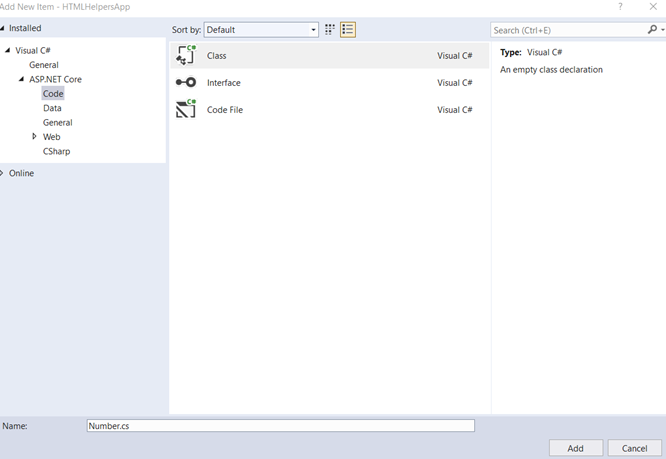
Create a new model ‘Number’. Right click on Model folder and add ‘Number’ class
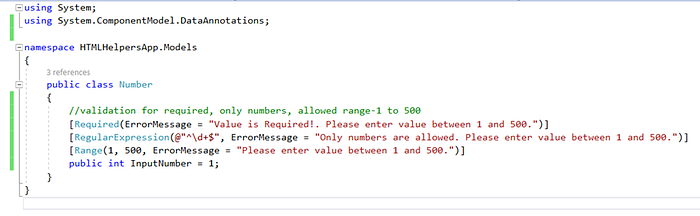
Add code in Number.cs. This model captures the user input.
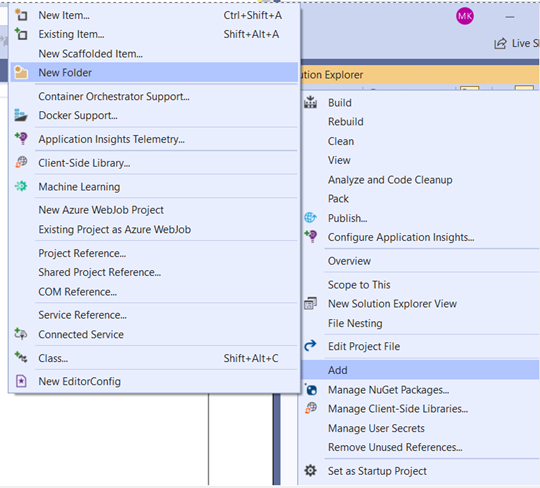
Now let us add a common class PageInfo.cs. Create new folder Common and add PageInfo.cs class. Right click on the project folder and add new folder
Add code in PageInfo.cs. Based on the user input and page size, PageInfo calculates and capture details such as Page Start, Page End, Last Page, etc. which are used in pagination.

Now we come to the most important part that is creating the custom Htmlhelpers.
Create custom Htmlhelper PageLinks which renders the page numbers, previous and next links. Add a new class ‘PagingHtmlHelpers.cs’ in ‘Common’ folder. We are trying to extend HtmlHelper class and add new functionality to add Page links. Use tag builders to create anchor tags.
Add code in ‘PagingHtmlHelpers.cs’

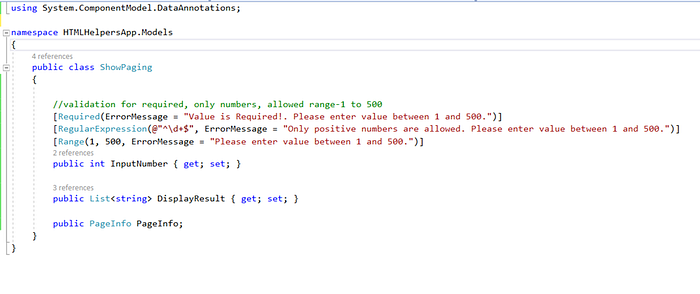
Add a new class ‘ShowPaging.cs’ in ‘Models’ folder
Now that we have the required models and helpers, let us create controller and views. Add a new controller — ‘HTMLHelperController’. Right click on the controller folder and select controller in the context menu.
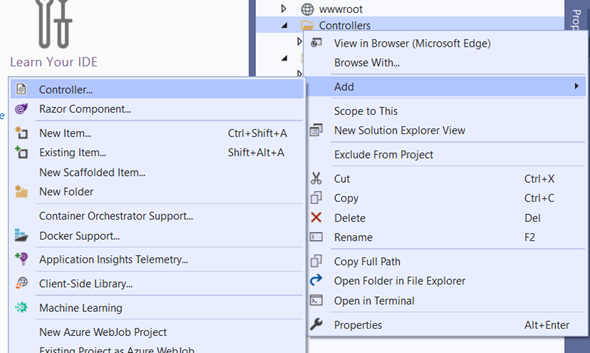
Select ‘MVCController-Empty’

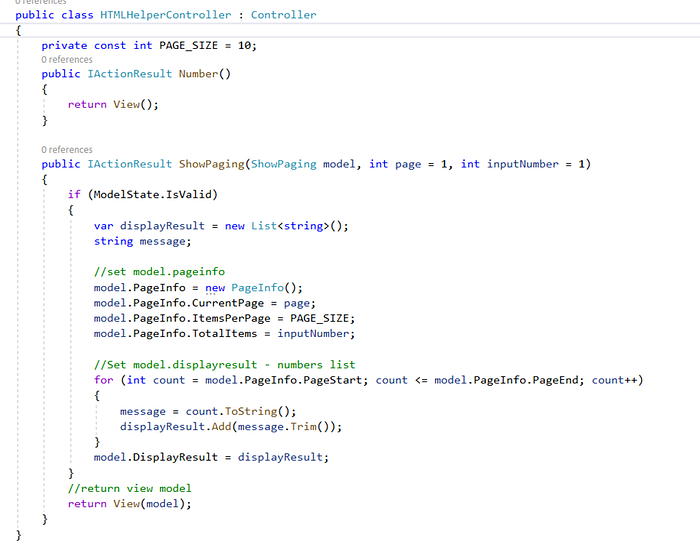
Add Code in ‘HTMLHelperController’.
Number action is called to enter the input number
ShowPaging action is called to display the numbers in multiple pages
Create a new folder ‘HTMLHelper’ in Views folder. Follow the same steps mentioned above to add a new folder.
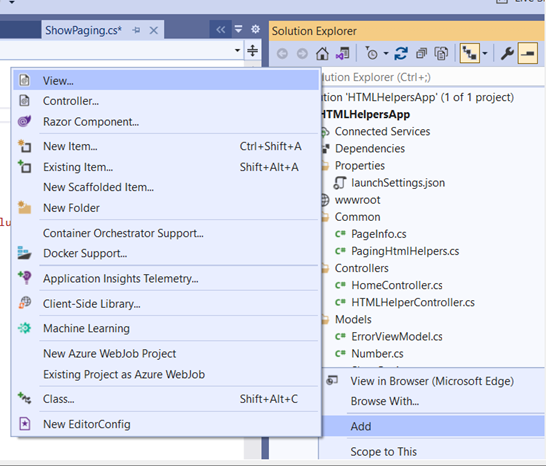
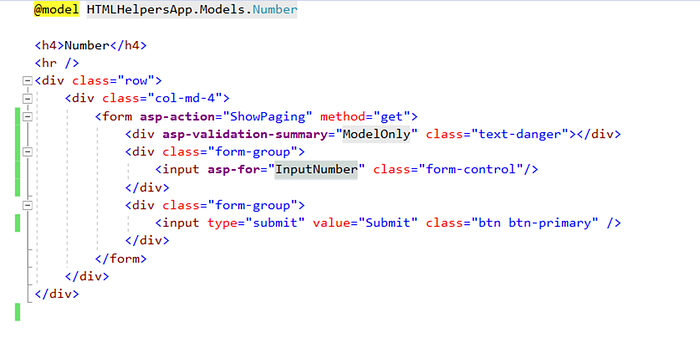
Create a new view ‘Number.cshtml’. Right click on Views > HTMLHelper folder and add a new view.
Add Code in ‘Number.cshtml’
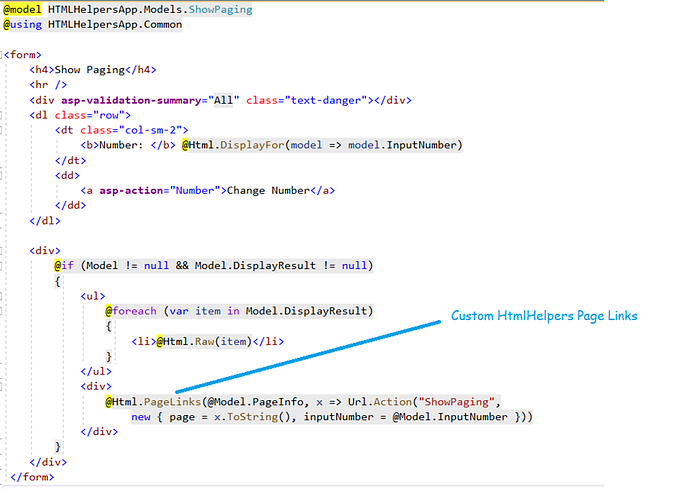
Similarly create a new view ‘ShowPaging.cshtml’. Follow the same steps as mentioned above.
Add code in ‘ShowPaging.cshtml’
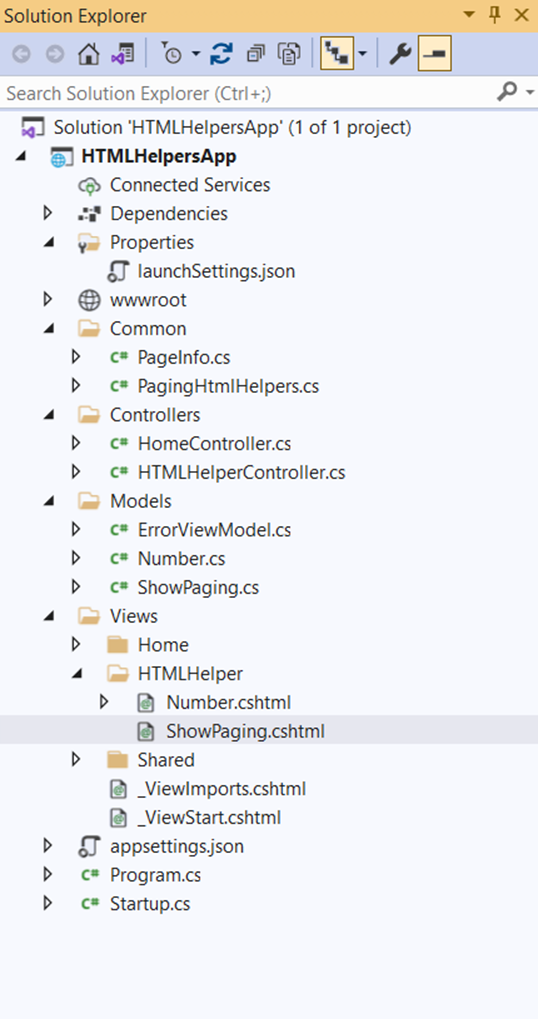
Solution Explorer will be as follows
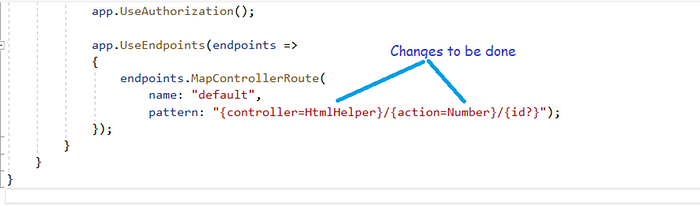
We added all the required files. Before we run, let us configure the default controller and action in ‘startup.cs’.
Compile and run the application.
Enter the input number as 35.
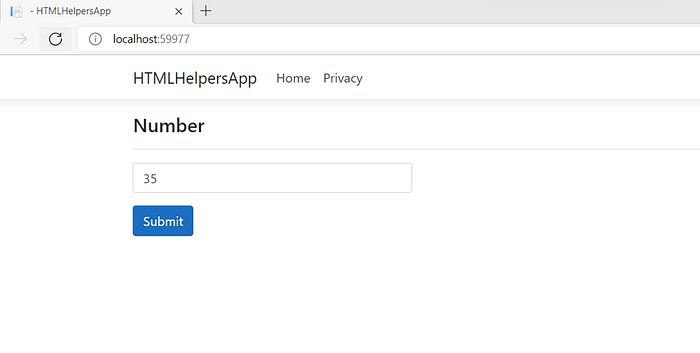
Click on Submit
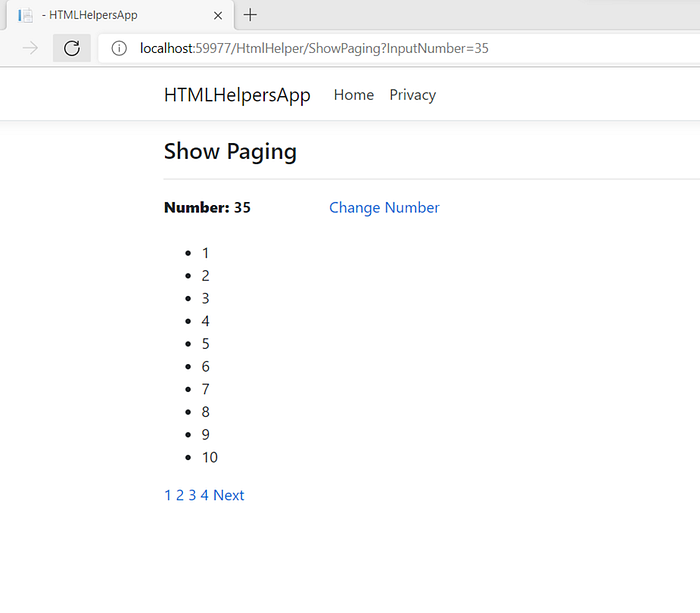
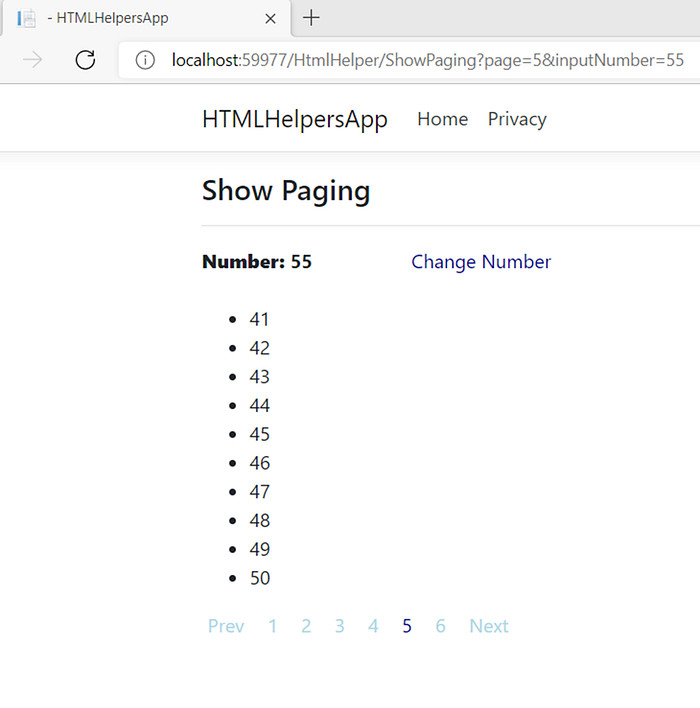
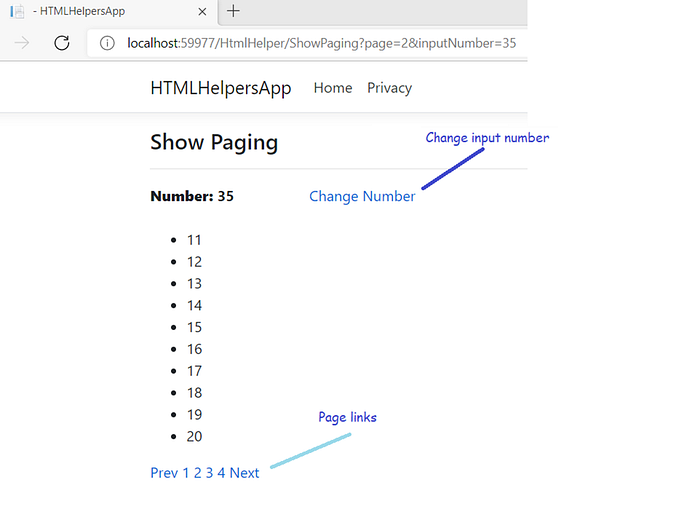
You see the paging at the bottom. 10 numbers are displayed on each page. So, there will be 4 pages to display 35 numbers. As this is the first page, ‘Prev’ link is not displayed. Click on page 2 link to see the ‘Prev’ link.
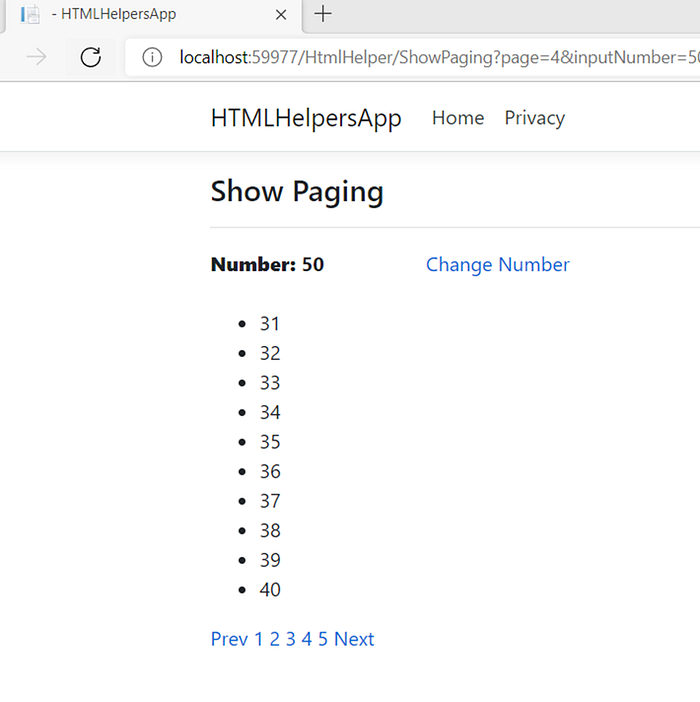
You can apply stylings to the page links as required.